Why use your credit to advertise only one site if you can advertise several of them? You can create your own site and put your own banners on it. You don’t know how or where? In this guide I’ll show you how you can do it in EasyHits4U.
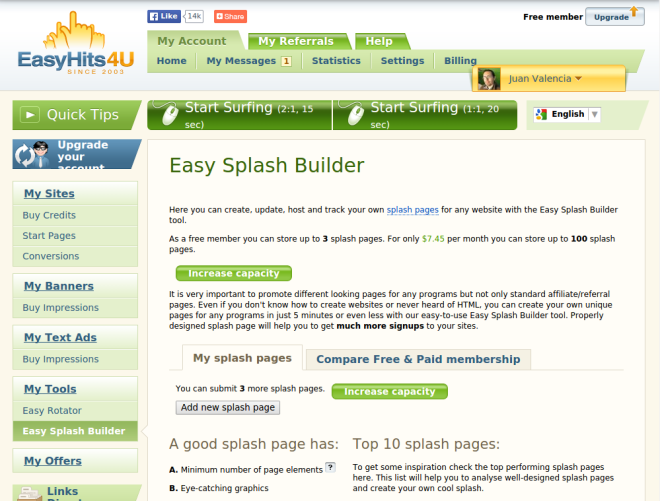
To start, go to My Tools > Easy Splash Builder.
Then click on “Add new splash page”
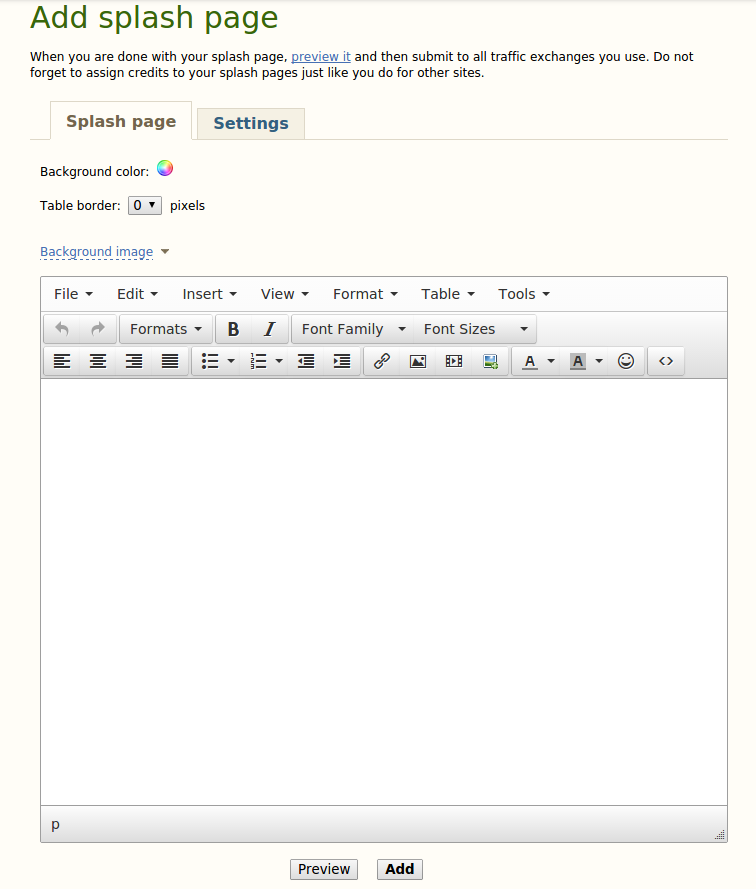
In this guide I’ll only cover a very basic page, but feel free to play with it.
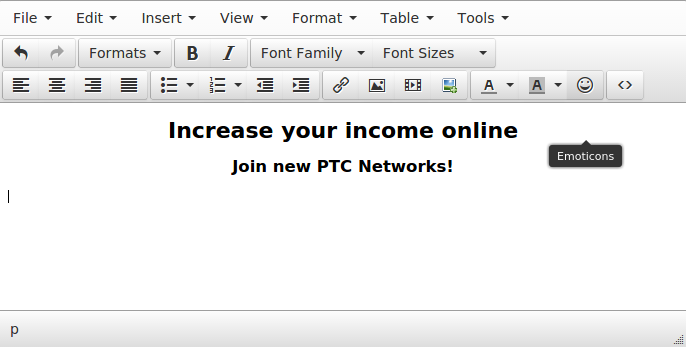
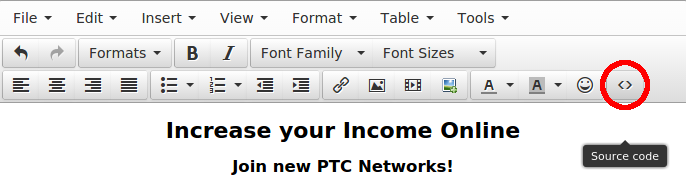
Add a Header, something like “Increase your income online”, then go to Formats > Headers > Header 1, and center it.
If you want you can add a sub-header, same procedure from before,but select Header 2.
Then go to the website that you want to promote, with this being a very simple guide I will just get a couple of sites.
EasyHits4U
Go to My Referrals > Promo Tools > Banners.
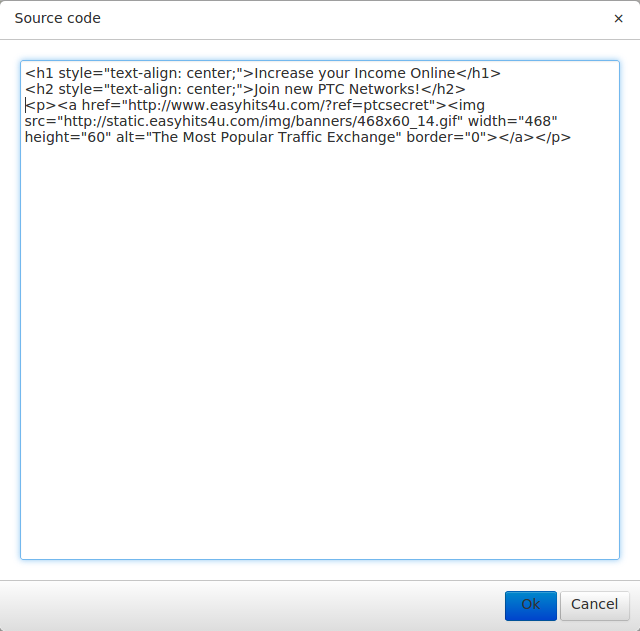
Just choose one that you like and copy the Banner code. Now we need to insert this code we copied as code. Click on Source code in the EasyHits4U editor.
Now paste the code at the end of it. In my screenshot below, the Banner code appears between: <p> Pasted banner code </p>. Once you paste the Banner code and click OK, this <p></p> gets automatically added around it, so don’t worry about it. I’m just saying it because you may open the source code again and notice it there.
Click OK, then you can center it if you want, click and the end of it and click the align center button ![]() . So far so good.
. So far so good.

Repeat the same procedure for other Banners that you want to use, for example:
- Traffic Monsoon: Go to Affiliate > Banners.
- NeoBux: Go to Dashboard by clicking your username in the top bar. Then go to Global > Banners. Copy the text that says HTML.
- ClixSense: Go to Affiliates > Banners. Choose your favourite banner and copy the HTML Code.
- Bux888: Global > Banners. Copy what’s in HTML. It only has two banners, if you are still using the 468×60 size, it’s Banner 2.
- SiteXplosion: Go to Affiliate Tools. You have plenty of options.
Almost there, just two more details.
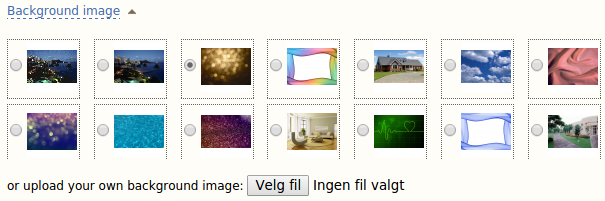
Select a background image. You can upload one if you have it.
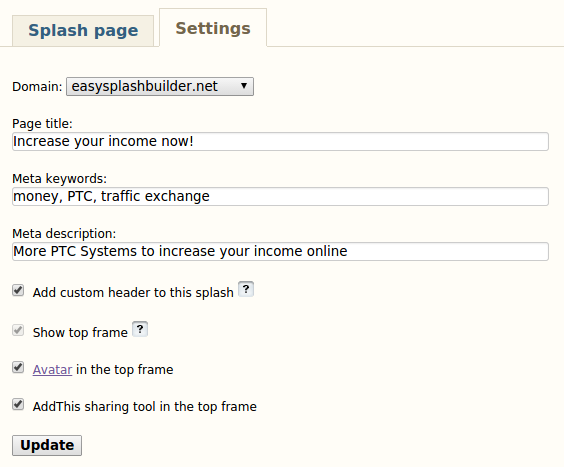
And finally go to Settings to add a Title to your Splash page
And now we are finish, once you click save you can see the URL of your Splash page, you can use this in your favourite traffic exchange. And here is my result: http://easysplashbuilder.net/78725/